How to Maintain a Mountain Bike for Long-Term Performance
Mountain biking is an incredible sport. It challenges your body, clears your mind, and takes you through some of the most beautiful terrain on earth. However, none of that is possible without a bike that runs smoothly. Regular maintenance is not optional — it is the difference between a ride that flows and one that breaks down on the trail.
This guide covers everything you need to keep your mountain bike in peak condition for years to come.
Why Regular Maintenance Matters
A mountain bike takes a beating. Mud, rocks, roots, and rain all work against its components over time. When you ignore small issues, they grow into expensive repairs. A loose bolt becomes a cracked frame. A worn chain destroys a cassette. A sticky brake lever causes a crash.
Therefore, building a simple maintenance routine saves you money, extends the life of your bike, and keeps every ride safe and enjoyable. You do not need to be a mechanic. You just need to be consistent.
Setting Up Your Maintenance Schedule
Before diving into specific tasks, it helps to think in three timeframes: after every ride, every month, and every season.
After every ride, give your bike a quick look. Check the tires, spin the wheels, and squeeze the brakes. This takes less than five minutes and catches problems early.
Every month, go deeper. Clean the drivetrain, check cable tension, and inspect your fork seals. Additionally, this is a good time to look at your brake pads and assess how much life they have left.
Every season, do a full teardown. Regrease bearings, bleed hydraulic brakes if needed, and replace any worn parts before they fail on the trail.
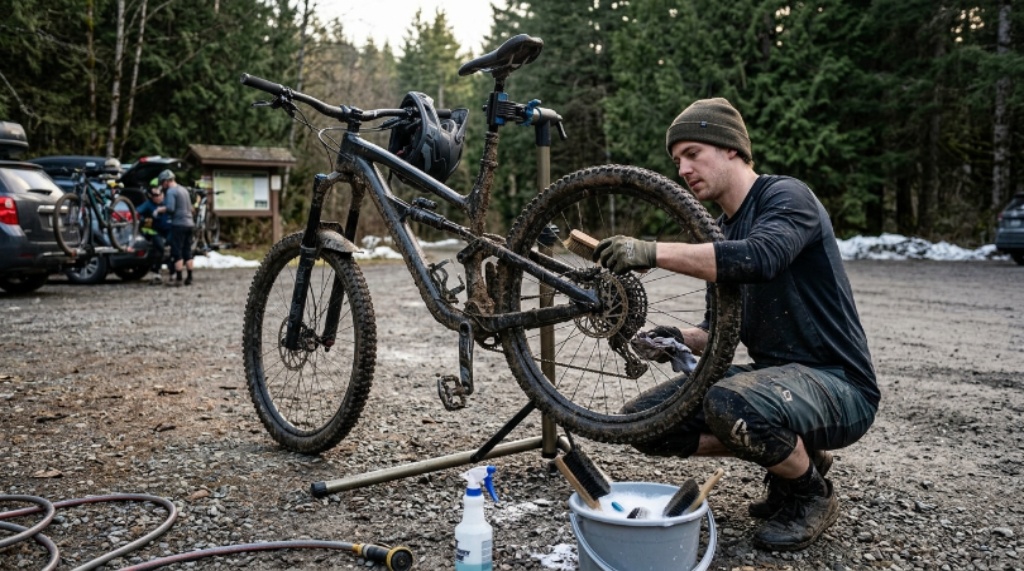
Bike Cleaning Tips for Mountain Bikers
Keeping your bike clean is the foundation of good maintenance. Dirt and grime accelerate wear on every moving part. Good bike cleaning tips start with the right tools: a soft brush, a stiff brush, a bucket of soapy water, a hose with low pressure, and a dry cloth.
Start from the top and work your way down. Rinse the frame lightly to loosen mud. Then scrub the frame, fork, and wheels with the soft brush. Use the stiff brush on the cassette and chainrings where grime packs tightly.
Avoid blasting water directly into bearings or the bottom bracket. High-pressure water forces out grease and invites rust. Once the bike is clean, dry it thoroughly with a cloth. Let it air dry for a few minutes before moving on to lubrication.
After drying, apply a quality chain lubricant. Drip it onto each link as you slowly pedal backward, then wipe off the excess. A clean, well-lubed chain runs quietly, shifts crisply, and lasts much longer.
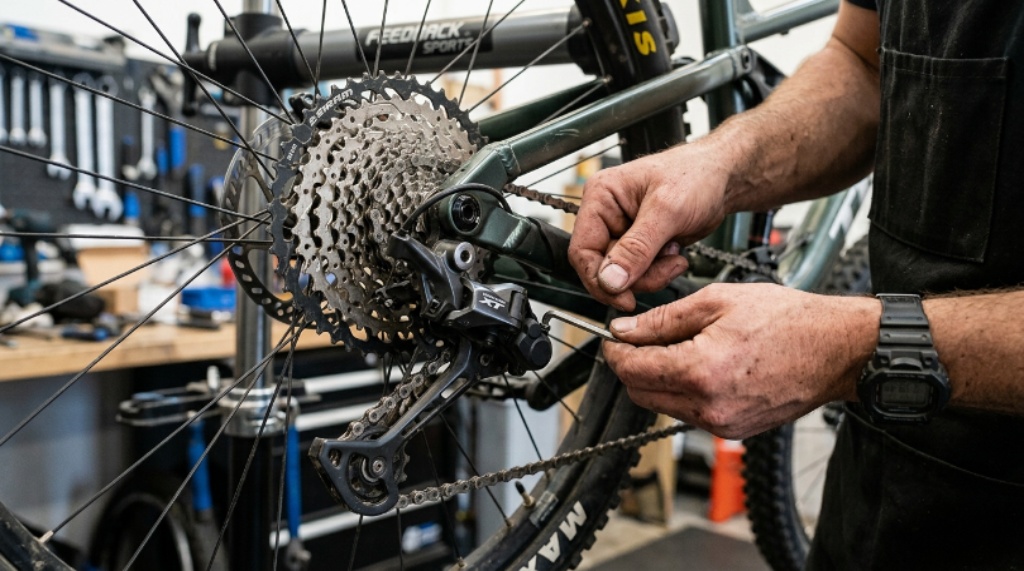
Gear Maintenance: Keeping Your Drivetrain Sharp
Your drivetrain is the engine of your bike. It includes the chain, cassette, chainrings, derailleurs, and shifter cables. Gear maintenance keeps this system working like a well-oiled machine — because it literally needs to be one.
Start with the chain. Measure it regularly with a chain wear indicator tool. A stretched chain skips under power and damages the cassette. Replace it before it reaches 0.75% wear. Chains are cheap. Cassettes are not.
Next, look at the derailleurs. The rear derailleur controls how smoothly the chain moves between gears. If shifting feels sluggish or imprecise, the cable tension is usually the culprit. Turn the barrel adjuster on your shifter half a turn at a time until shifts are crisp in both directions.
Check the derailleur hanger as well. This small aluminum piece connects the rear derailleur to the frame. It bends easily in a crash and makes shifting feel impossible. Straighten or replace it if it looks off-angle.
Additionally, inspect your shifter cables for fraying at the ends. A frayed cable can snap mid-ride, leaving you stuck in one gear. Cables are inexpensive and easy to replace. Do not wait until they break.
Brake Adjustment: Safety You Can Feel
Brakes are your most important safety system. Proper brake adjustment gives you confident stopping power on steep descents and in wet conditions. Neglected brakes are genuinely dangerous.
Most modern mountain bikes use hydraulic disc brakes. These are largely self-adjusting, but they still need attention. Squeeze each lever and check how far it travels before the brake engages. If it feels spongy or pulls all the way to the handlebar, air has entered the brake line. Bleeding the brakes removes that air and restores a firm, responsive feel.
For mechanical disc brakes, the process is slightly different. You adjust stopping power by tightening the cable at the caliper or using the barrel adjuster. Center the rotor between the brake pads as well. A rotor that rubs constantly will wear pads unevenly and create an annoying squealing sound.
Brake pads wear down with use. Check them often. Most pads have a wear indicator line. When the pad material reaches that line, replace them immediately. Riding on worn pads damages your rotors, which are far more expensive to replace.
Therefore, brake adjustment is not a once-a-year task. Check your brakes before every significant ride, especially after a crash or after riding in heavy rain.
Tire and Suspension Care
Tires and suspension absorb the trail’s abuse so your body does not have to. Both need regular attention.
Check your tire pressure before every ride. Too little pressure and you risk pinch flats and poor cornering. Too much pressure and the tire bounces off roots and rocks instead of gripping them. Most trail riders run between 25 and 35 PSI, depending on tire width, rider weight, and terrain.
Inspect the tire sidewalls for cuts or bulges after muddy or rocky rides. A small cut can be sealed with tubeless sealant. A large gash means it is time for a new tire.
For suspension, start with the basics. Set your sag — the amount the fork or shock compresses under your body weight — to the manufacturer’s recommended percentage, usually around 25 to 30 percent. Use a shock pump to adjust air pressure accordingly.
Clean the stanchions (the upper tubes of your fork) after every muddy ride. Dirt on the stanchions grinds into the fork seals and causes oil to leak. Wipe them clean and apply a small amount of suspension-specific lubricant occasionally to keep the seals supple.
Checking Bolts, Bearings, and the Cockpit
Vibration loosens bolts over time. Therefore, run a torque wrench or Allen key over all key contact points every month. Pay attention to stem bolts, handlebar clamps, brake caliper bolts, and rotor bolts. Most specs are printed directly on the component.
Bearings in the headset, bottom bracket, and wheel hubs should spin smoothly without play or grinding. Grab the fork and push it side to side. Any clicking or looseness means the headset needs adjustment. Spin each wheel and listen for grinding. That sound means the hub bearings need service.
Conclusion
Maintaining a mountain bike does not require a professional mechanic or expensive tools. What it requires is consistency and attention. Follow practical bike cleaning tips to protect every component from the start. Stay on top of gear maintenance to keep your drivetrain shifting smoothly and efficiently. Make brake adjustment a regular habit so you always have reliable stopping power when you need it most.
A well-maintained mountain bike rewards you with smoother rides, greater confidence on the trail, and far fewer mechanical surprises. Start small, build a routine, and your bike will perform at its best for years to come.
Frequently Asked Questions
How often should I clean my mountain bike?
After every muddy or wet ride is ideal. For dry trail riding, a thorough clean every two to four rides is usually sufficient to prevent grime buildup from damaging components.
What is the best lubricant for a mountain bike chain?
Use a wet lubricant in rainy or muddy conditions and a dry lubricant in dry, dusty conditions. Apply sparingly and always wipe off the excess to avoid attracting dirt.
How do I know when my brake pads need replacing?
Most brake pads have a visible wear line. When the pad material wears down to that line — or if you hear a metallic scraping sound — replace them immediately to avoid rotor damage.
Can I adjust my own gears without taking the bike to a shop?
Yes. Most shifting issues come from cable tension. Use the barrel adjuster on your shifter to fine-tune tension in small increments. If shifts are still off after adjustment, check the derailleur hanger for bends.
How often should mountain bike suspension be serviced?
Lower leg services on a fork are recommended every 50 hours of riding or once a year. Full rebuilds, including the damper, are typically needed every 100 to 200 hours depending on the manufacturer’s guidelines.
Related Topics:
Durable Mountain Bikes Under 500: Epic Trails on a Tight Budget
How to Correct Uneven Foot Pressure While Skateboarding: 7 Expert Solutions for Better Balance