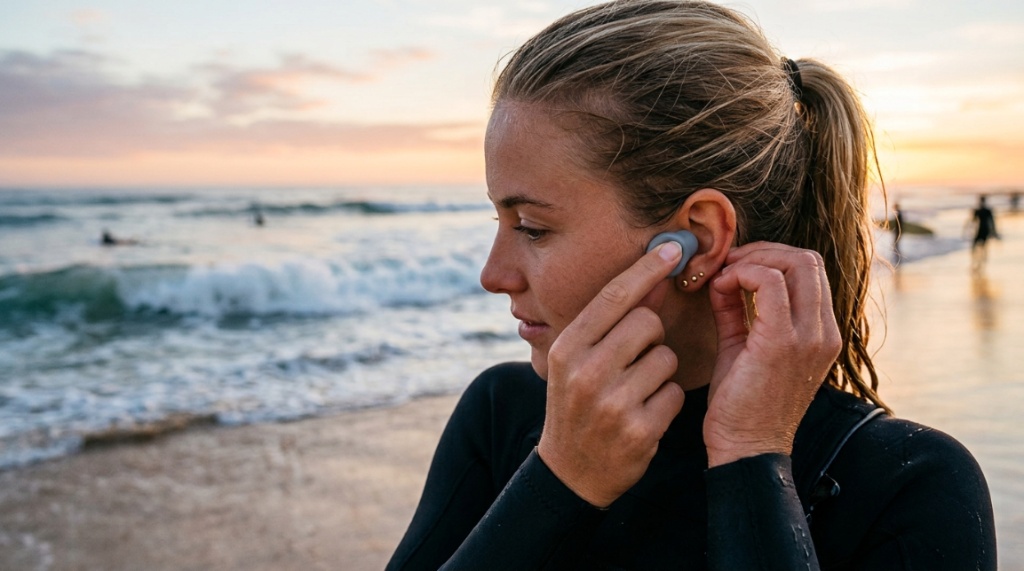
How to Use Moldable Surf Ear Plugs for a Better Fit
If you surf regularly, you know the frustration of water trapped in your ear canal after a session. It dulls your hearing, throws off your balance on the next wave, and can lead to surfer’s ear—a condition where bony growths develop in the ear canal from repeated exposure to cold water and wind. Moldable surf ear plugs are one of the most effective solutions, but only if you fit them correctly. A poor fit means leaks, discomfort, and zero protection. This guide walks you through the exact process of shaping, inserting, and maintaining moldable ear plugs so they stay watertight session after session.
Why Moldable Surf Ear Plugs Need a Proper Fit
Unlike pre-formed silicone plugs or custom-molded hard acrylic options, moldable plugs rely entirely on how you shape them. The material—typically a silicone putty—needs to conform to the unique contours of your ear canal and outer ear. When fitted correctly, they create a complete seal that blocks water while still allowing you to hear paddling and approaching waves. When fitted poorly, they either fall out mid-duck-dive or let water seep in around the edges, defeating the entire purpose.
Most surfers who give up on moldable plugs do so because they never learned the proper technique. The good news is that once you understand the fundamentals, the process takes less than a minute per ear. And if you’re comparing options before committing, you can explore how moldable surf ear plugs stack up against other types for Florida conditions specifically.
Step-by-Step Guide to Shaping Moldable Ear Plugs
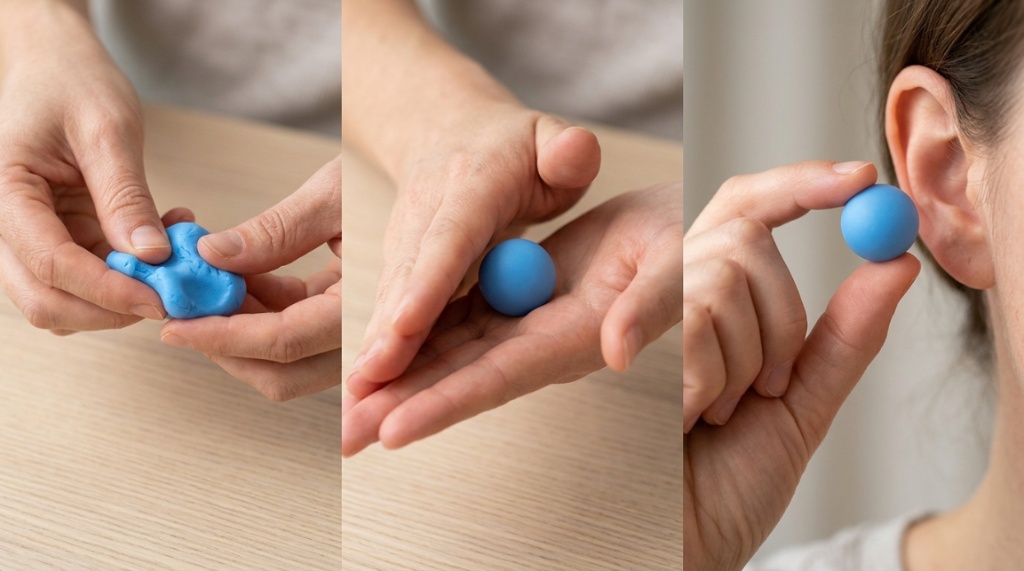
The shaping process is straightforward, but small details make a big difference. Follow these steps carefully for each ear.
Step 1: Warm the Putty
Take the plug out of its case and roll it between your palms for 20–30 seconds. The warmth softens the silicone, making it more pliable and easier to mold. Cold putty is stiff and won’t conform well to your ear’s shape. If you’re in cold water or air, keep the plugs in your wetsuit pocket or under your armpit for a few minutes before shaping.
Step 2: Shape Into a Cone or Tapered Ball
Roll the warmed putty into a ball, then taper one end so it forms a cone shape. The tapered tip should be narrow enough to fit into the opening of your ear canal without forcing. The wider base will sit in the bowl of your outer ear (the concha). This shape is critical—a uniform ball won’t seat properly and will likely leak.
Step 3: Insert With the Right Technique
Here’s where most people go wrong. Use one hand to gently pull your earlobe downward and slightly backward. This straightens the ear canal, opening it up for insertion. With your other hand, guide the tapered tip into the canal opening. Do not push deep—the plug should sit at the entrance, not jammed into the canal. Press the wider base into the concha and hold it there for 15–20 seconds while the putty sets, If you are looking to maintain your water sports gear or aircraft components, check out our guide on Aerospace Surface Treatment Repair for Worn Parts.
Step 4: Check the Seal
After the plug sets, do a quick seal test. Cup your hands over your ears and listen. If your breathing sounds muffled and amplified, the seal is good. If you hear ambient noise clearly, the fit is off. Remove, reshape, and try again. It’s normal to need two or three attempts the first few times.
Common Mistakes That Ruin the Fit
Even experienced surfers make these errors. Avoiding them will save you frustration and improve your protection significantly.
- Pushing the plug too deep: Moldable plugs are not meant to sit deep inside the ear canal. Pushing them in makes removal painful and can cause irritation. The plug should sit at the outer opening.
- Not pulling the earlobe: Skipping this step means the canal stays curved, and the plug won’t seat properly. Always pull down and back before inserting.
- Using cold putty: Cold silicone doesn’t conform well. It leaves gaps and creates a poor seal. Warm it thoroughly every time.
- Shaping into a flat disc: A flat shape won’t create the necessary seal around the canal opening. Stick with the tapered cone shape.
- Reusing a plug that’s lost its shape: If the putty has hardened, cracked, or won’t hold a shape anymore, replace it. Old plugs provide false security.
How to Remove Moldable Surf Ear Plugs Safely
Removal is just as important as insertion. Yanking them out can damage your ear canal or leave residue behind. Instead, wet your fingers slightly and gently work a fingertip between the plug and your ear. Rock the plug side to side to break the seal, then ease it out. If the plug feels stuck, don’t pull harder—apply a little warm water around the edges and wait a few seconds.
After removal, rinse the plugs in fresh water and let them air dry completely before storing. Saltwater and sand degrade silicone over time, so proper cleaning extends the life of your plugs.
How Long Do Moldable Plugs Last?
Moldable surf ear plugs are not permanent. Depending on how often you surf and how well you maintain them, expect to replace them every 2–4 weeks with regular use. Signs that it’s time for a new pair include:
- The putty has become stiff or crumbly
- Cracks or tears appear in the material
- The plug no longer holds its shape when warmed
- You notice water getting in despite a seemingly good fit
Some brands sell multi-packs specifically because these plugs wear out quickly. Buying in bulk is usually more cost-effective than purchasing single pairs.
When Moldable Plugs Are Not the Best Choice
Moldable plugs work well for most surfers, but they have limitations. If you have very narrow or unusually shaped ear canals, the putty may not create a reliable seal. In that case, custom-molded plugs from an audiologist are a better investment. Similarly, if you surf in extremely cold water and need maximum thermal protection, a firmer silicone plug with a leash might suit you better.
Moldable plugs also require more attention during application than pre-formed options. If you’re surfing in a hurry or in challenging conditions, taking the time to shape them properly can feel like a hassle. But the trade-off is a better seal and more comfort once they’re in.
Tips for Getting the Best Fit Every Time
Consistency is key. Once you find a technique that works, repeat it every session. A few additional tips can help:
- Dry your ears completely before inserting plugs. Moisture on the skin prevents the putty from adhering properly.
- Trim ear hair if it’s excessive. Hair around the canal opening can break the seal and let water through.
- Store plugs in a hard case. Soft cases allow the putty to deform, which means reshaping every time.
- Carry a spare pair. If you drop a plug in the water or it gets damaged mid-trip, a backup saves your session.
- Practice at home first. Don’t wait until you’re in the lineup to figure out the technique. Practice in front of a mirror so you can see what you’re doing.
Frequently Asked Questions
Can I reuse moldable surf ear plugs?
Yes, moldable plugs are reusable until they lose their shape, harden, or crack. With proper care, a pair typically lasts 2–4 weeks of regular surfing. Rinse them in fresh water and dry them completely after each session to extend their life.
Do moldable ear plugs affect hearing in the water?
They muffle sound but don’t eliminate it. You’ll still hear waves approaching and other surfers calling out. The key is a proper fit—a good seal blocks water while allowing enough sound through for safety.
Can I wear moldable plugs with a surf hat or hood?
Yes. The plugs sit inside the ear, so they don’t interfere with hats or hoods. In fact, wearing a hood over your ears helps keep the plugs warm and in place during cold-water sessions.
Why do my ears hurt after wearing moldable plugs?
Pain usually means the plug is seated too deep or the putty is too cold and stiff. Make sure you’re warming the putty thoroughly and only placing it at the canal opening, not deep inside. If pain persists, switch to a different type of plug.
Are moldable plugs better than pre-formed silicone plugs?
It depends on your ear shape. Moldable plugs conform to your unique anatomy, which gives them an advantage for people with irregular ear canals. Pre-formed plugs are quicker to insert but may not seal as well for everyone. Try both to see which fits your ears better.
Conclusion
Getting a proper fit with moldable surf ear plugs comes down to technique, not luck. Warm the putty, shape it into a tapered cone, pull your earlobe to straighten the canal, and seat the plug at the opening rather than deep inside. Avoid the common mistakes of pushing too far or using cold material, and you’ll enjoy a watertight seal that protects your ears session after session. Replace your plugs when they start to stiffen or crack, and always carry a spare pair. With a little practice, fitting your plugs will become second nature—and you’ll wonder how you ever surfed without them.